Learn how to install and adjust your ShadeShark car sunglasses organizer for the perfect fit in any glove compartment
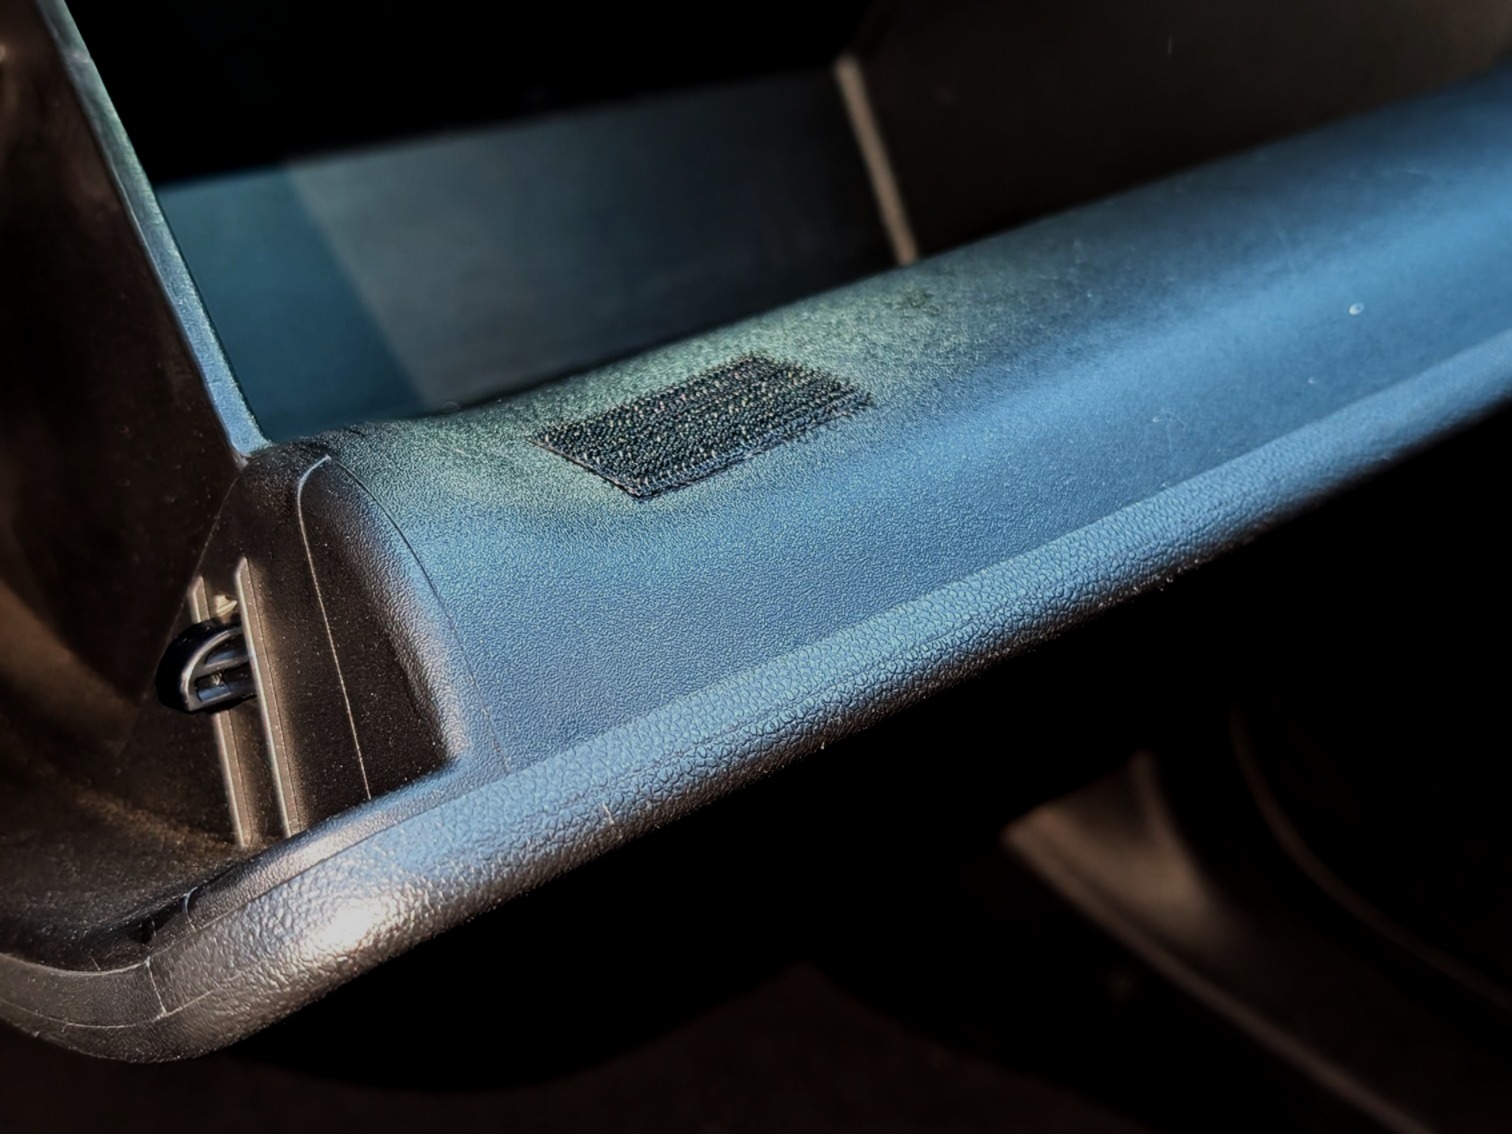
Clean the glove compartment surface where you'll attach the hook and loop fastener
Remove adhesive backing and firmly press hook and loop fastener to surface
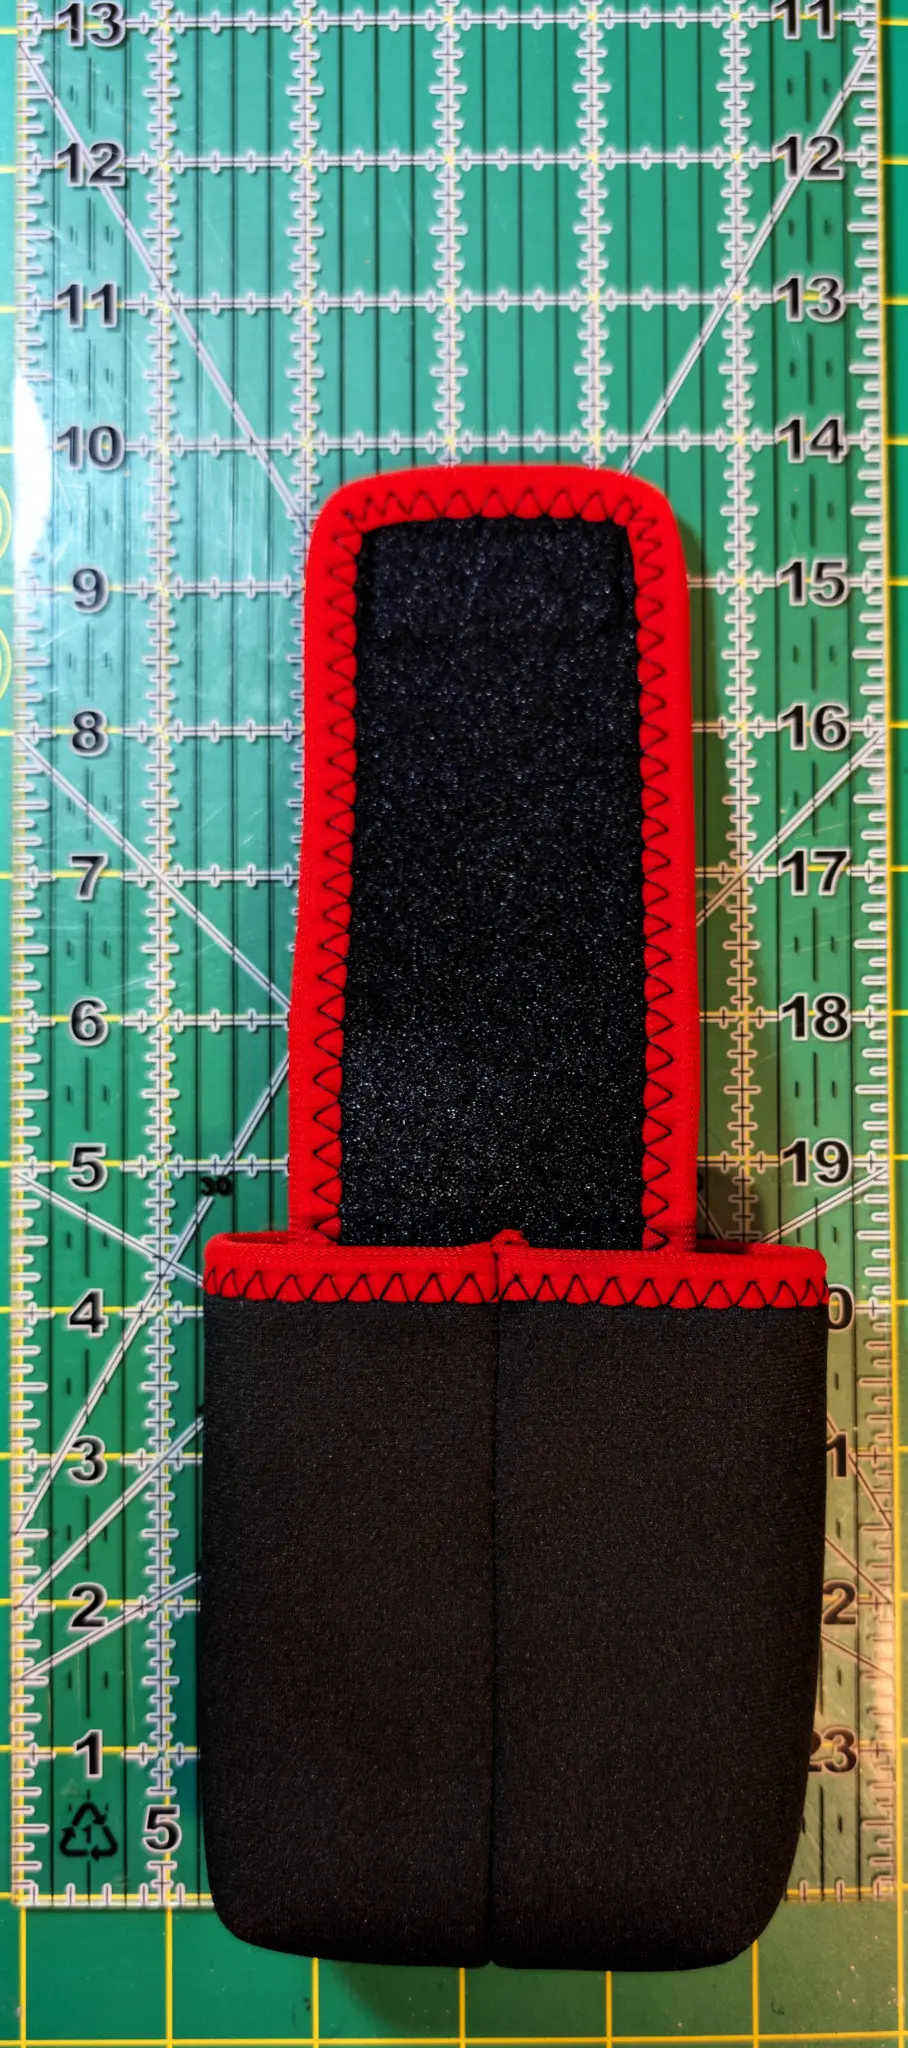
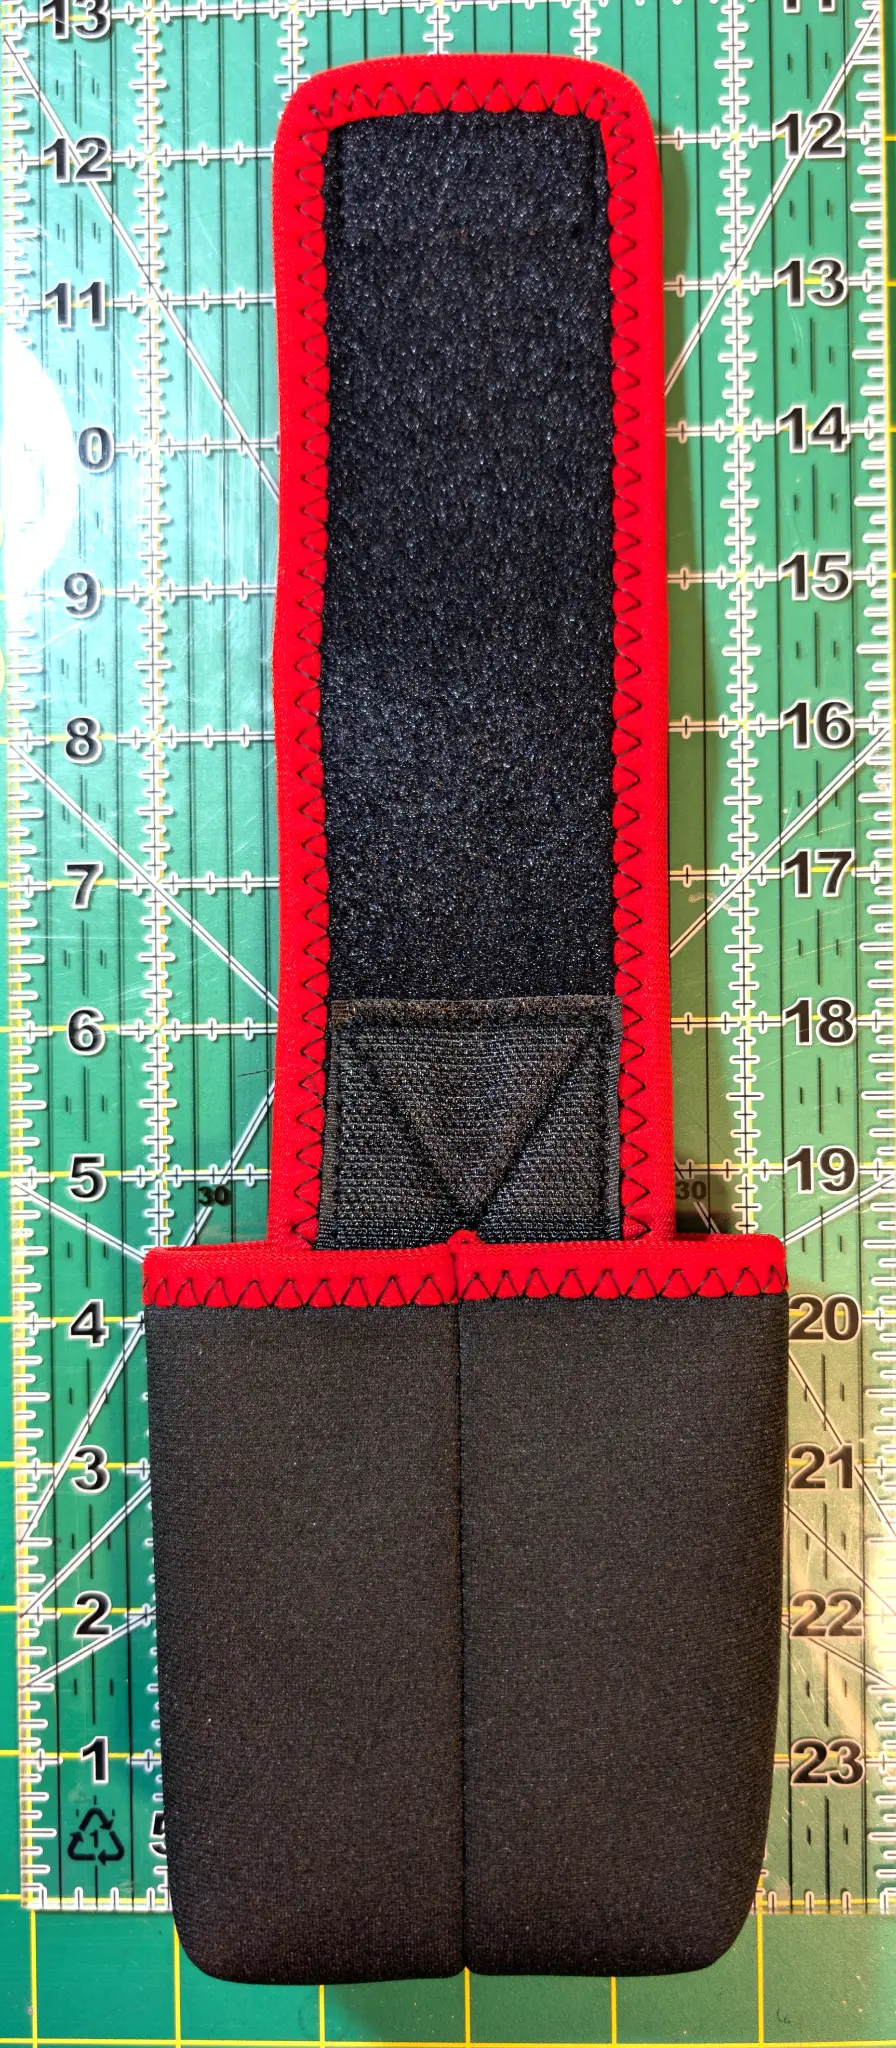
Adjust flap length for perfect fit using the two-part design
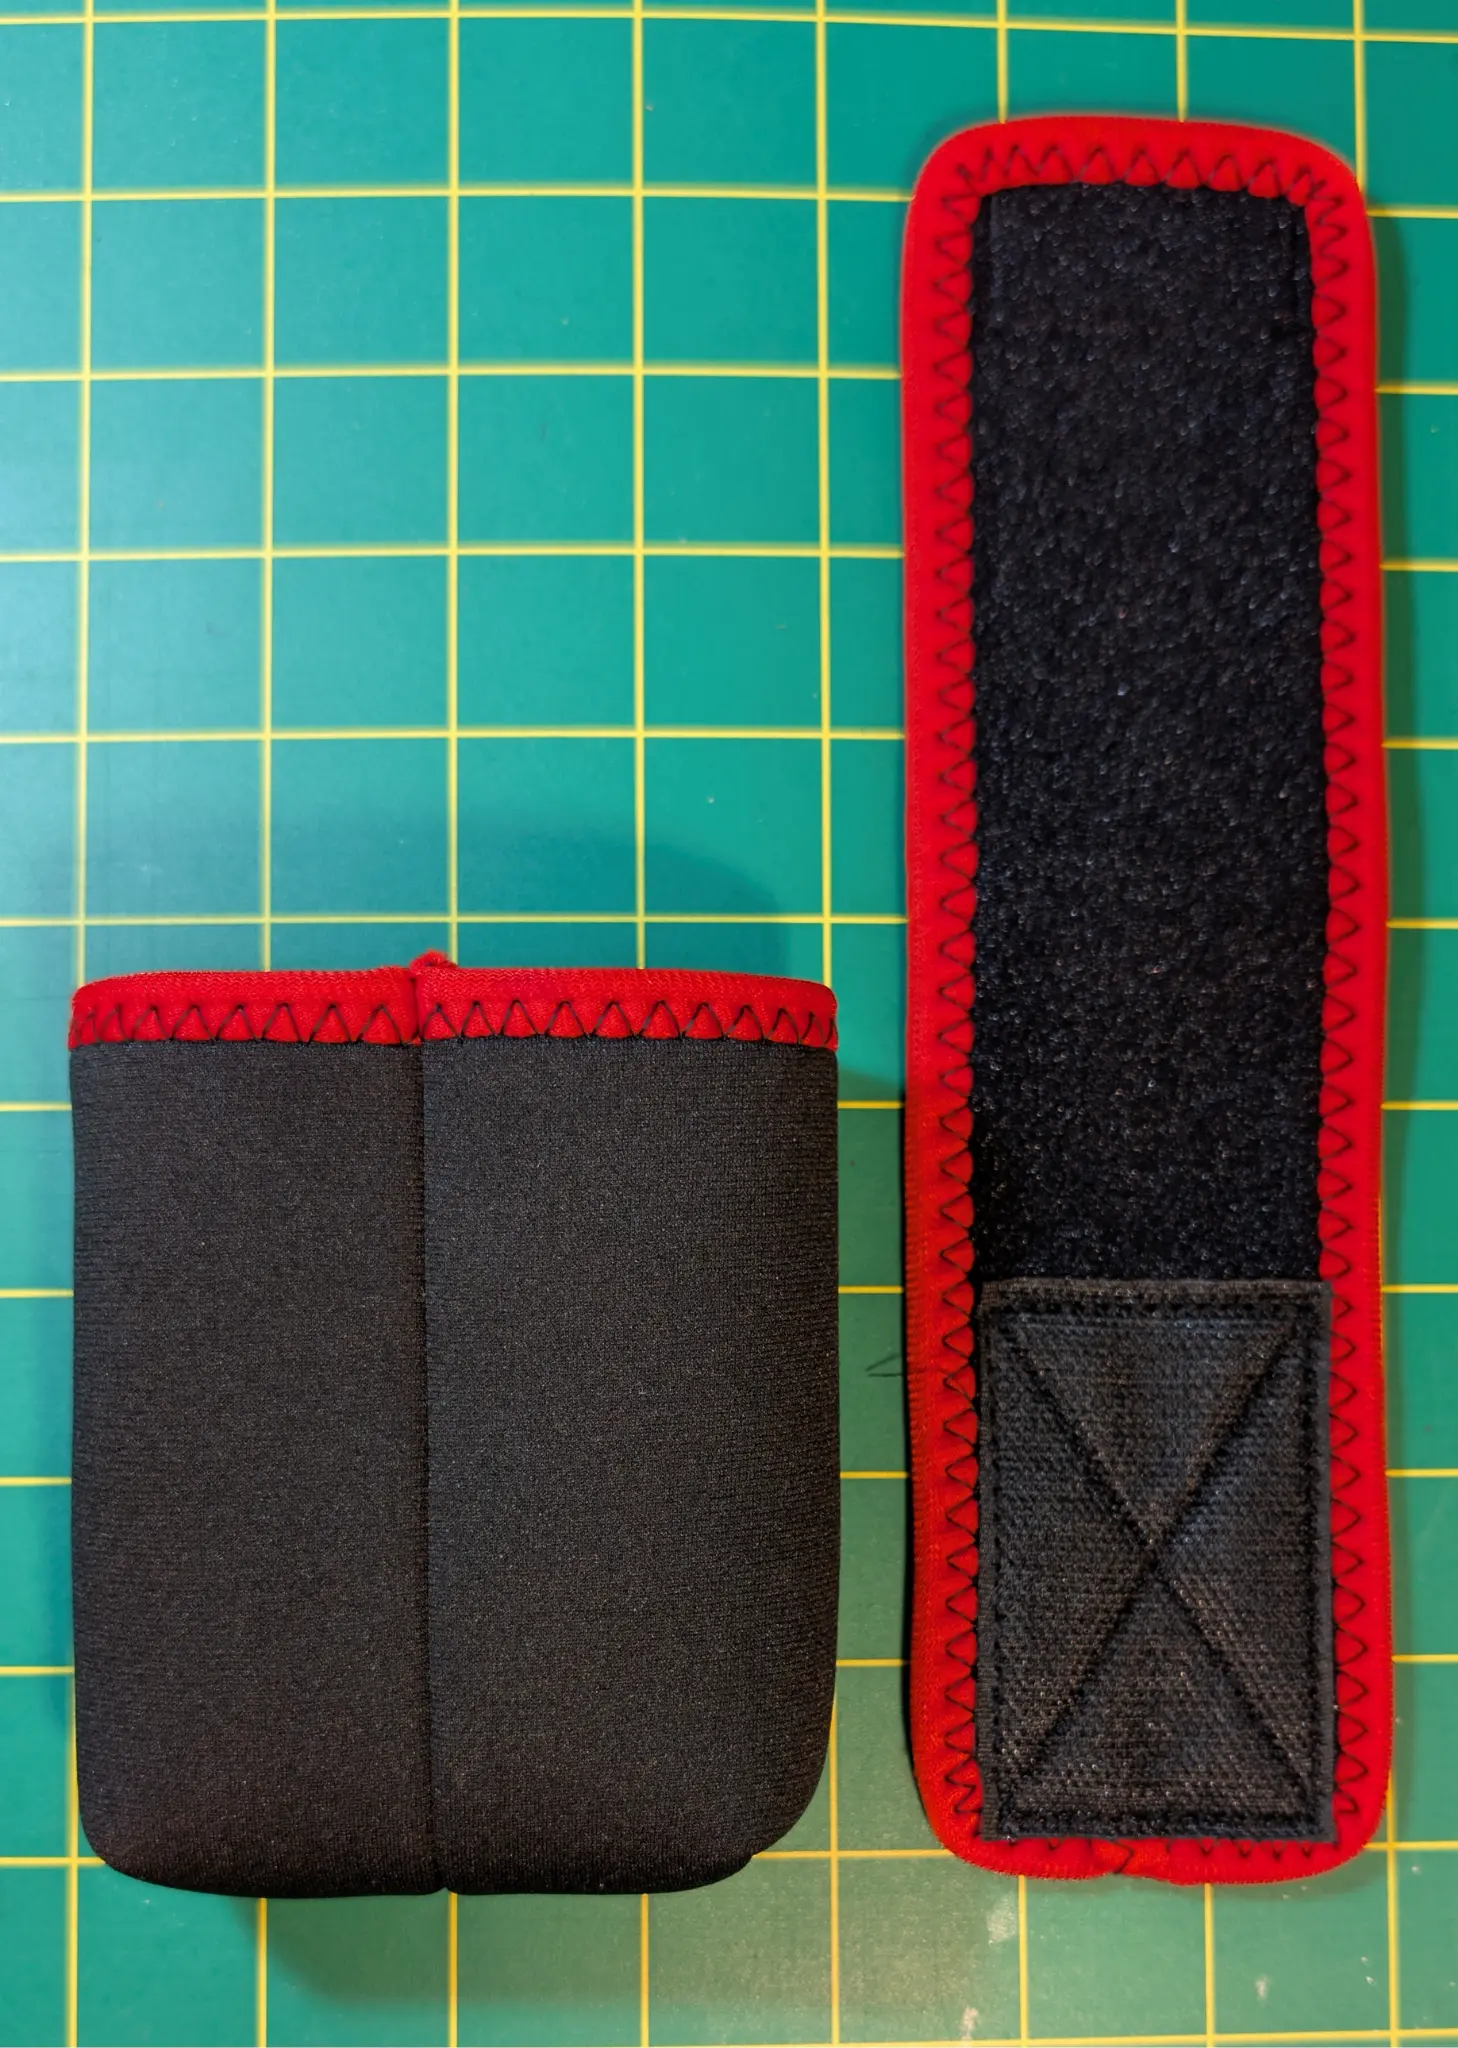
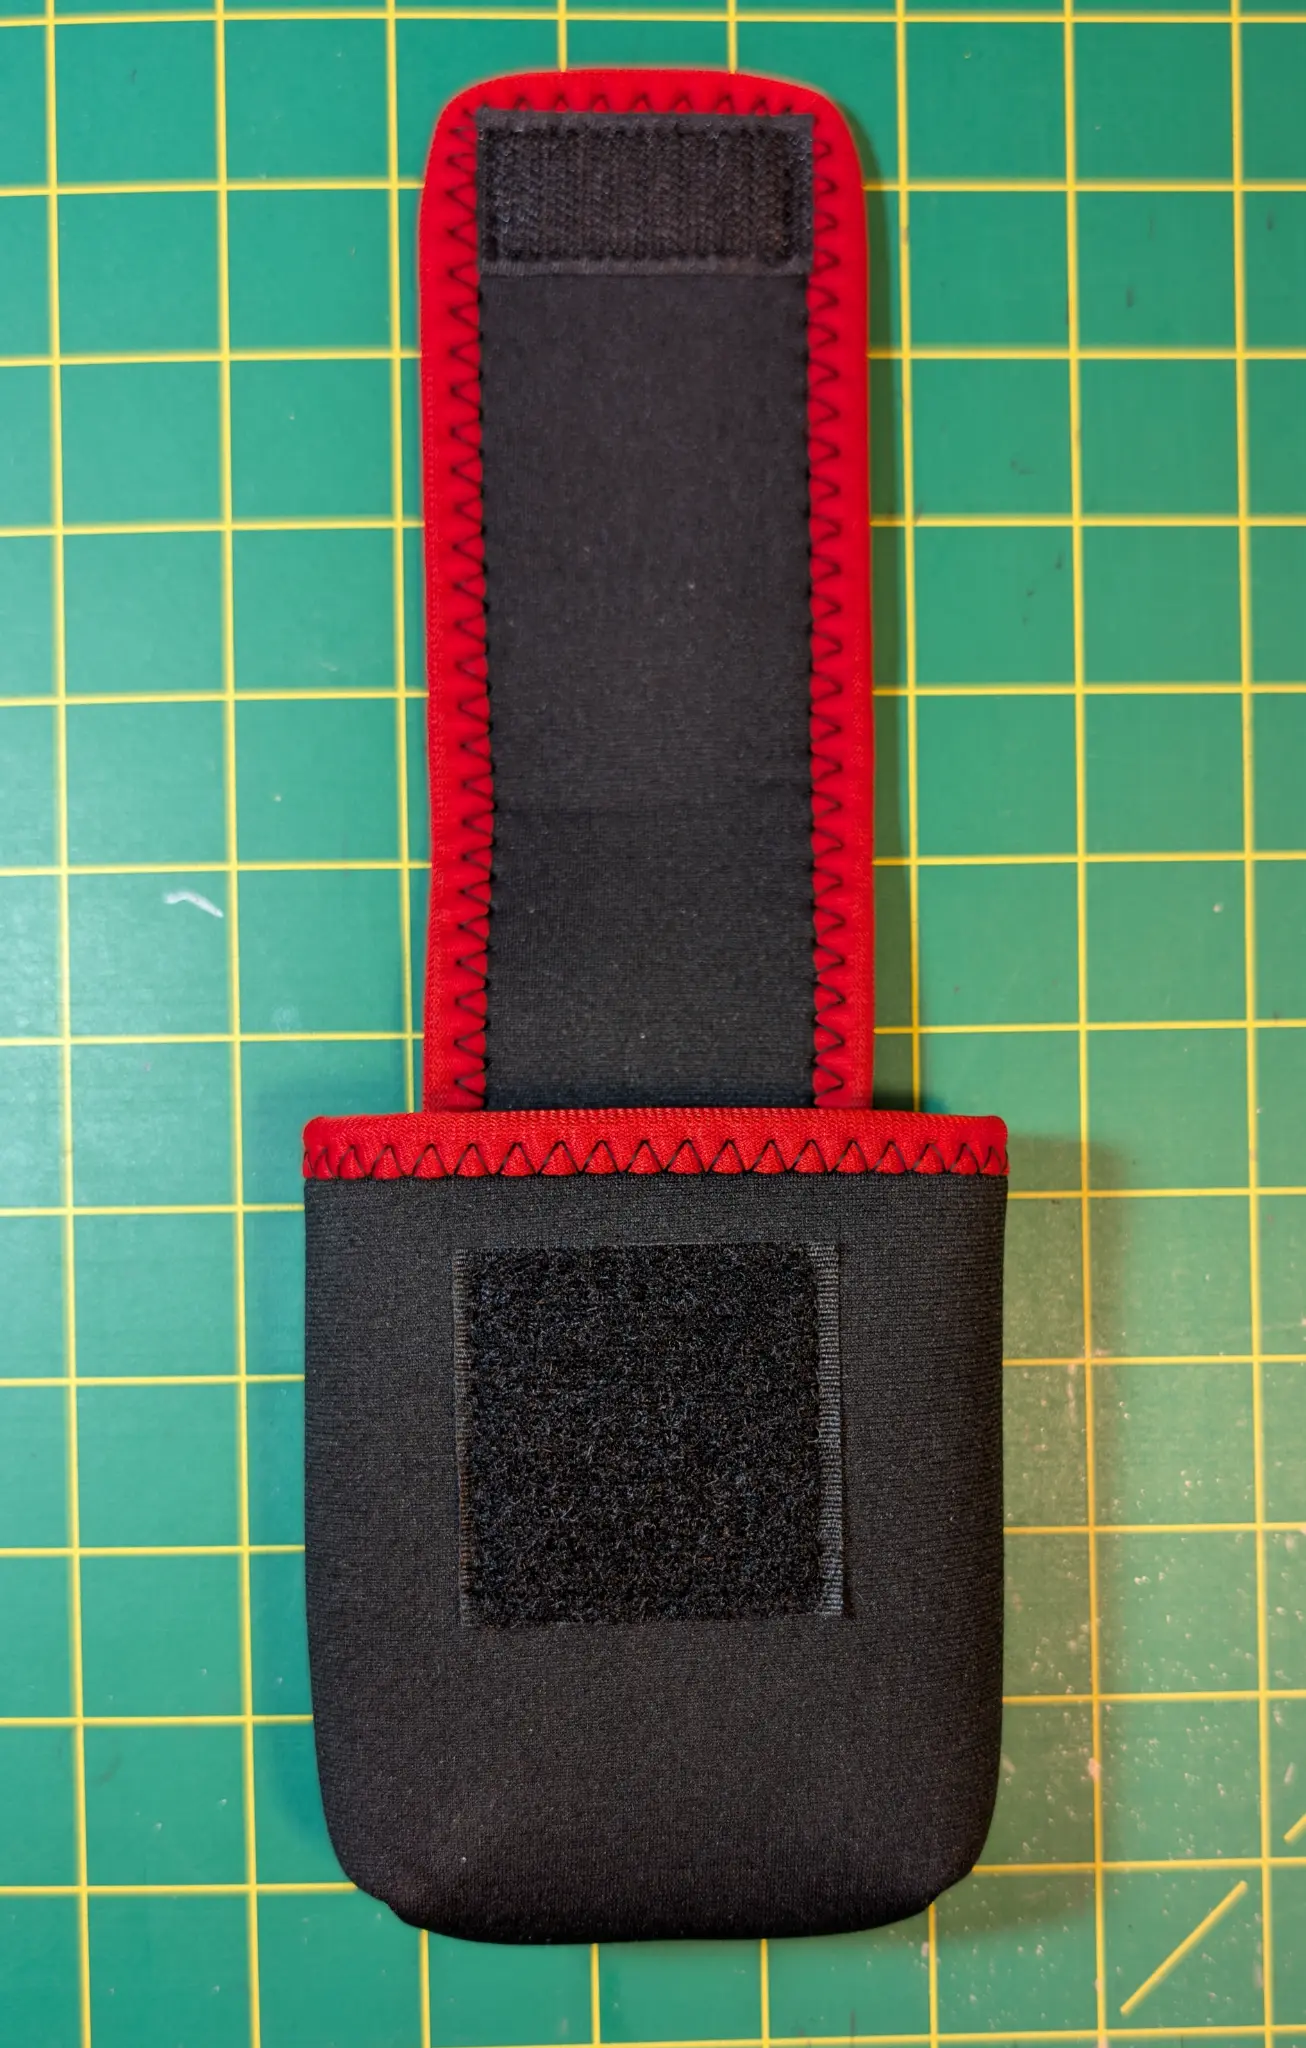
The unique patent pending two-part design gives the ultimate in flexibility and adjustability. The hook fastener on the flap attaches to the loop surface on the inside of the pouch allowing the flap length to be adjusted to fit nearly every glove box configuration.
The ShadeShark's innovative design allows you to customize the length for any glove compartment configuration. Follow these detailed instructions for optimal setup.
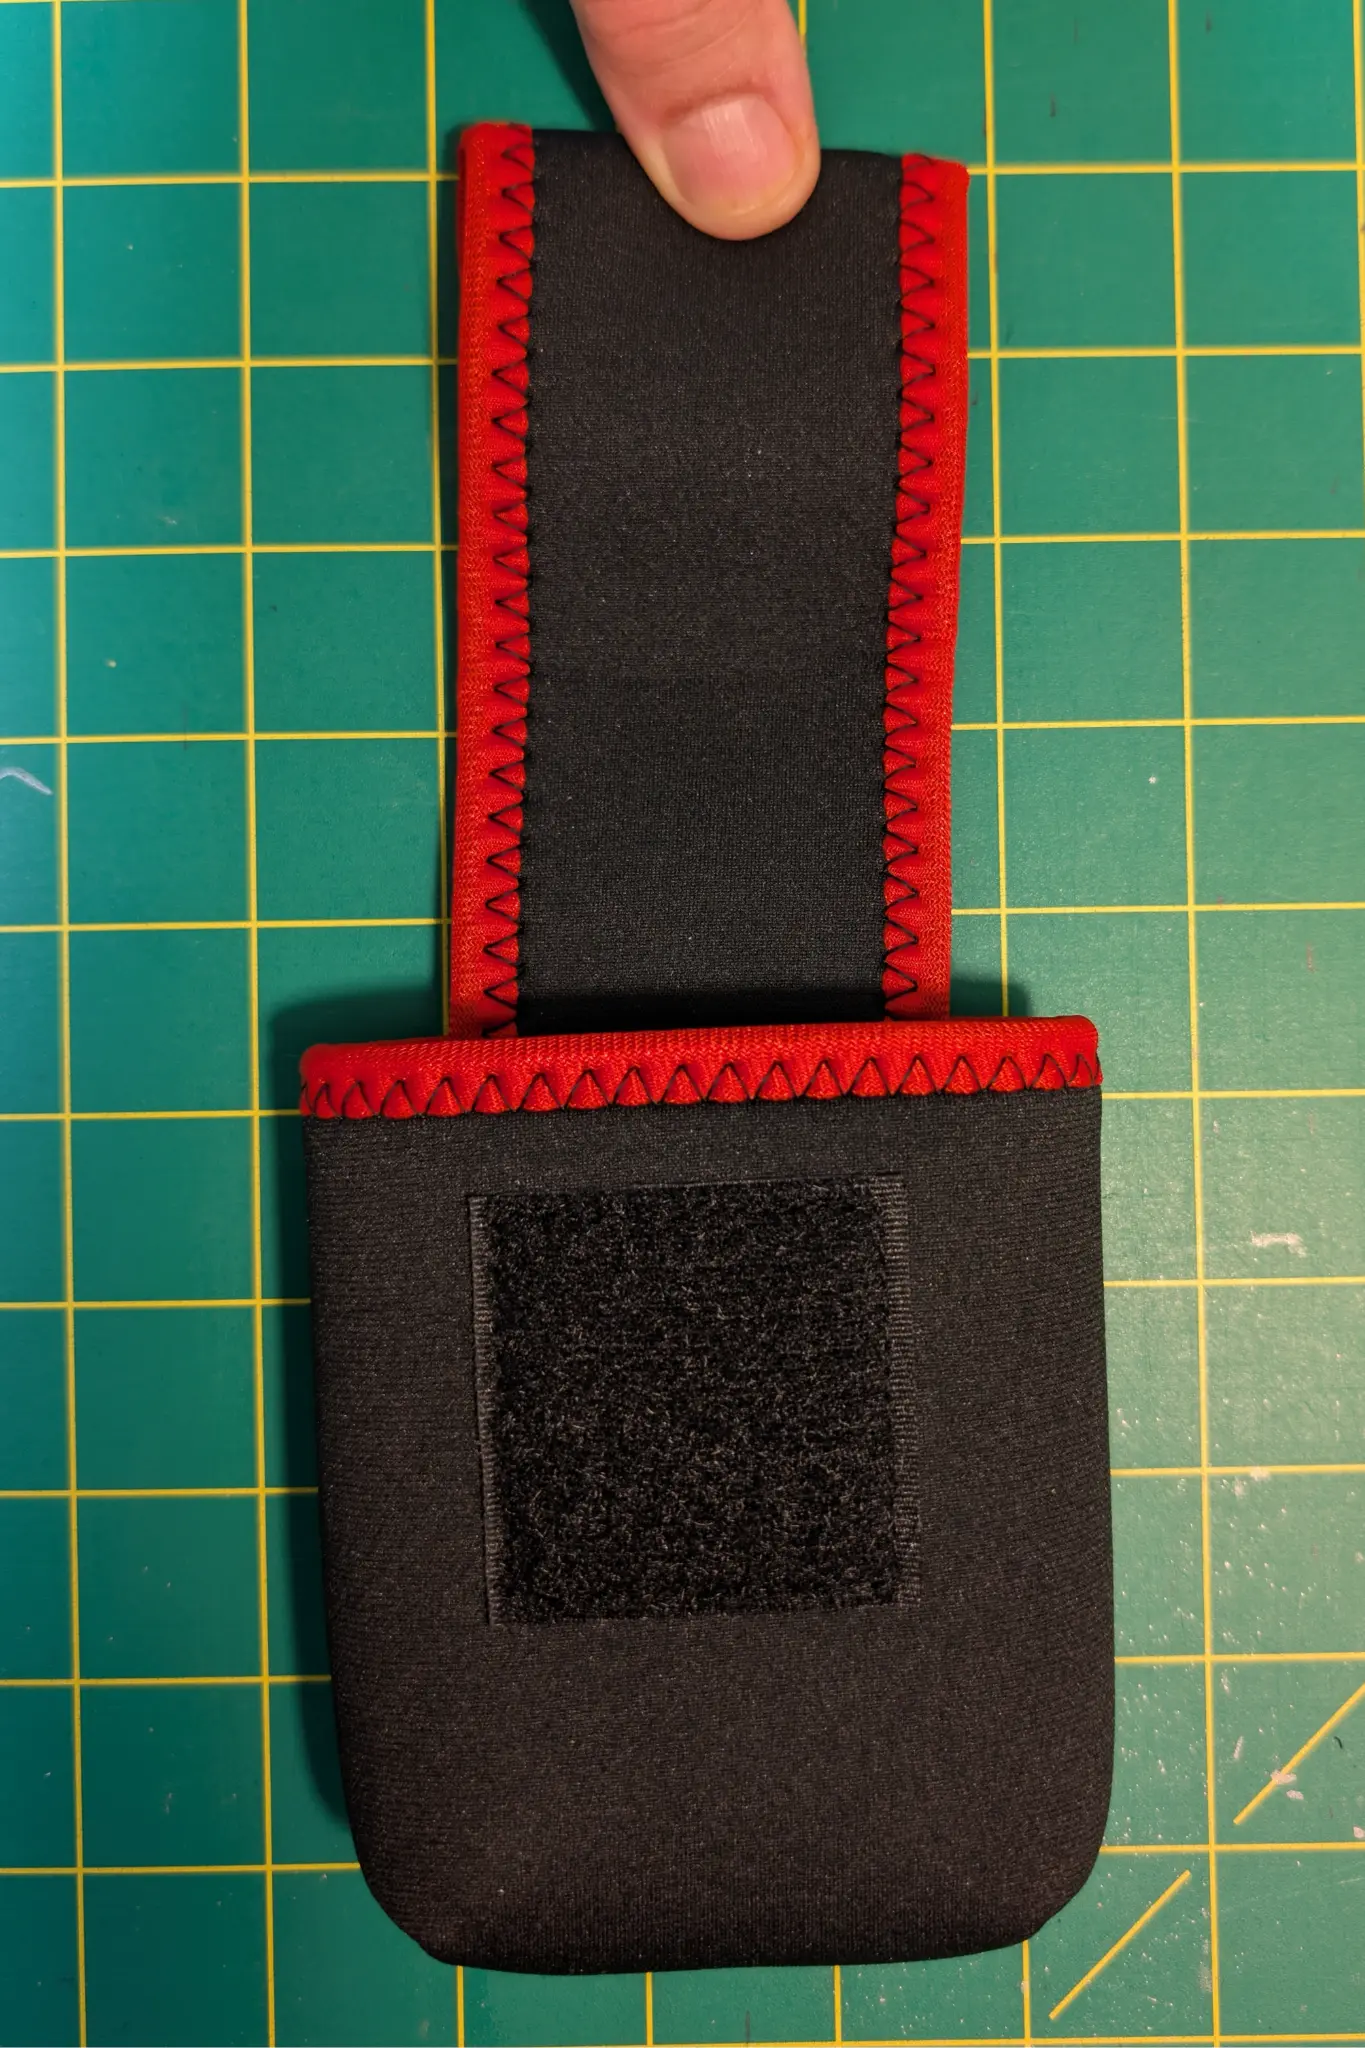
Perfect for compact glove compartments. Attach the flap closer to the opening for a snug, secure fit that maximizes space efficiency.
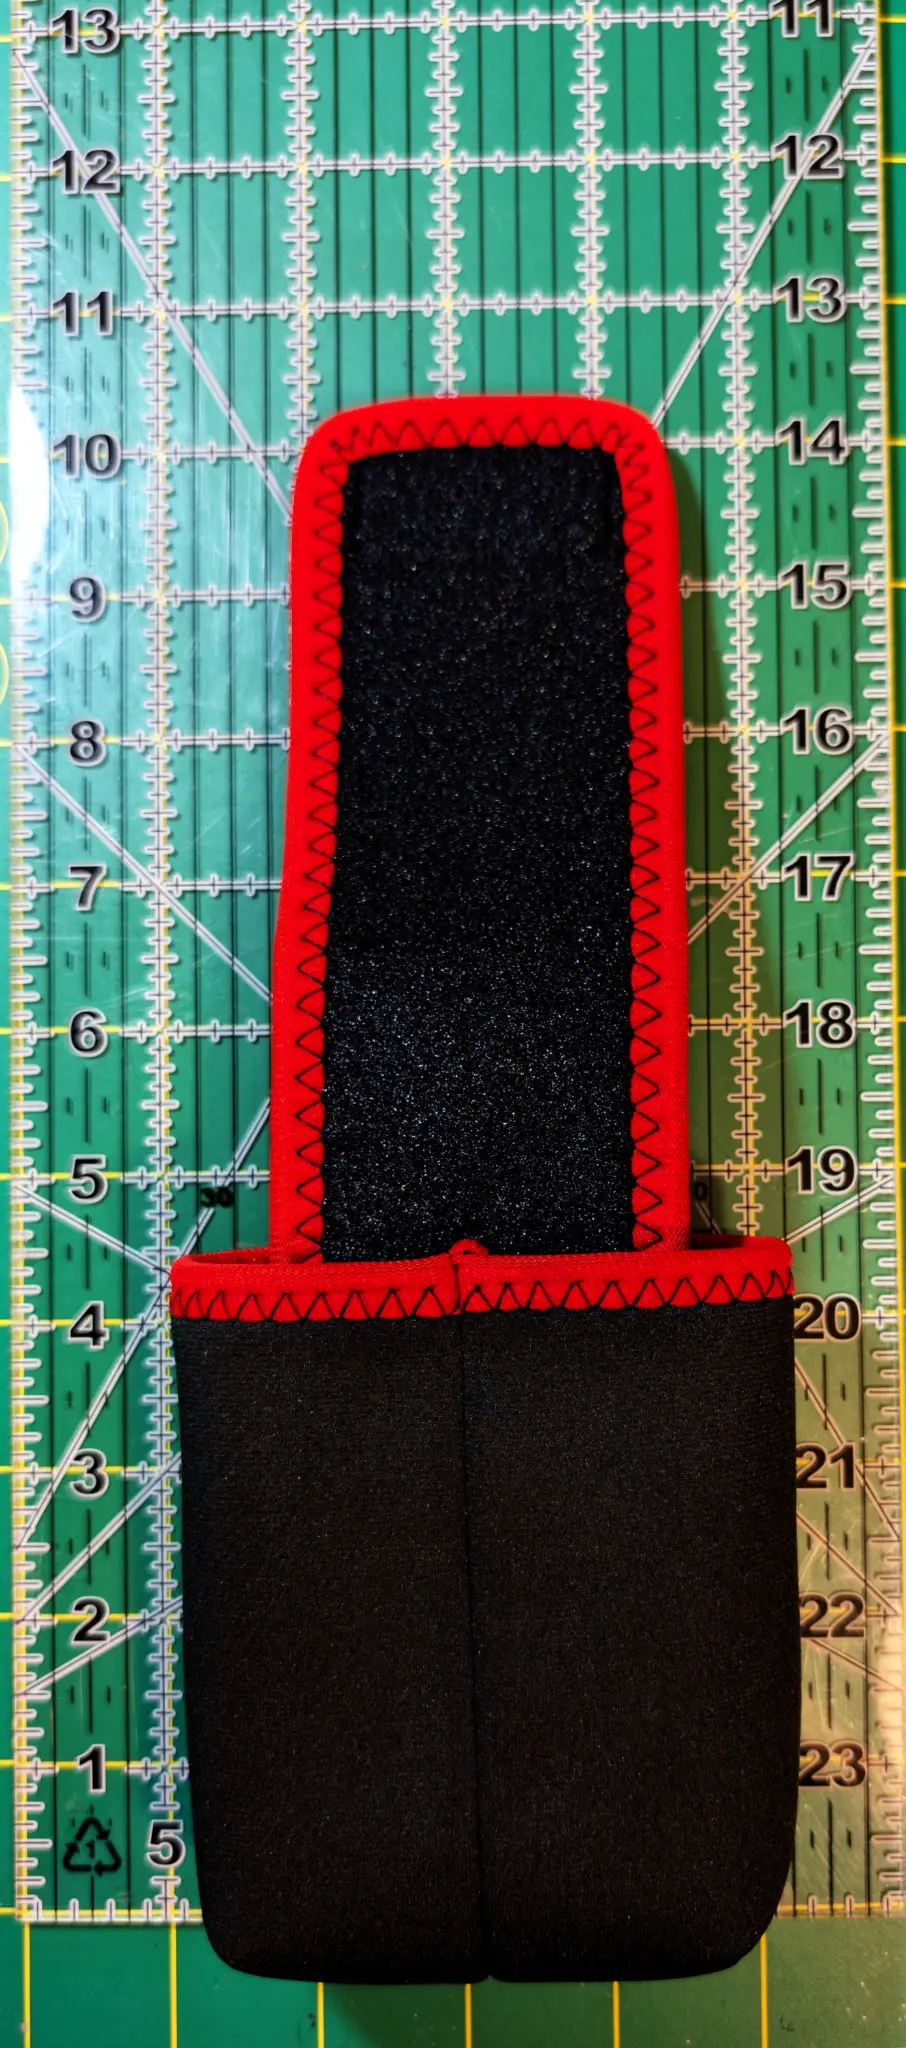
Ideal for standard-sized glove compartments. Provides balanced storage capacity while maintaining easy access to your sunglasses.

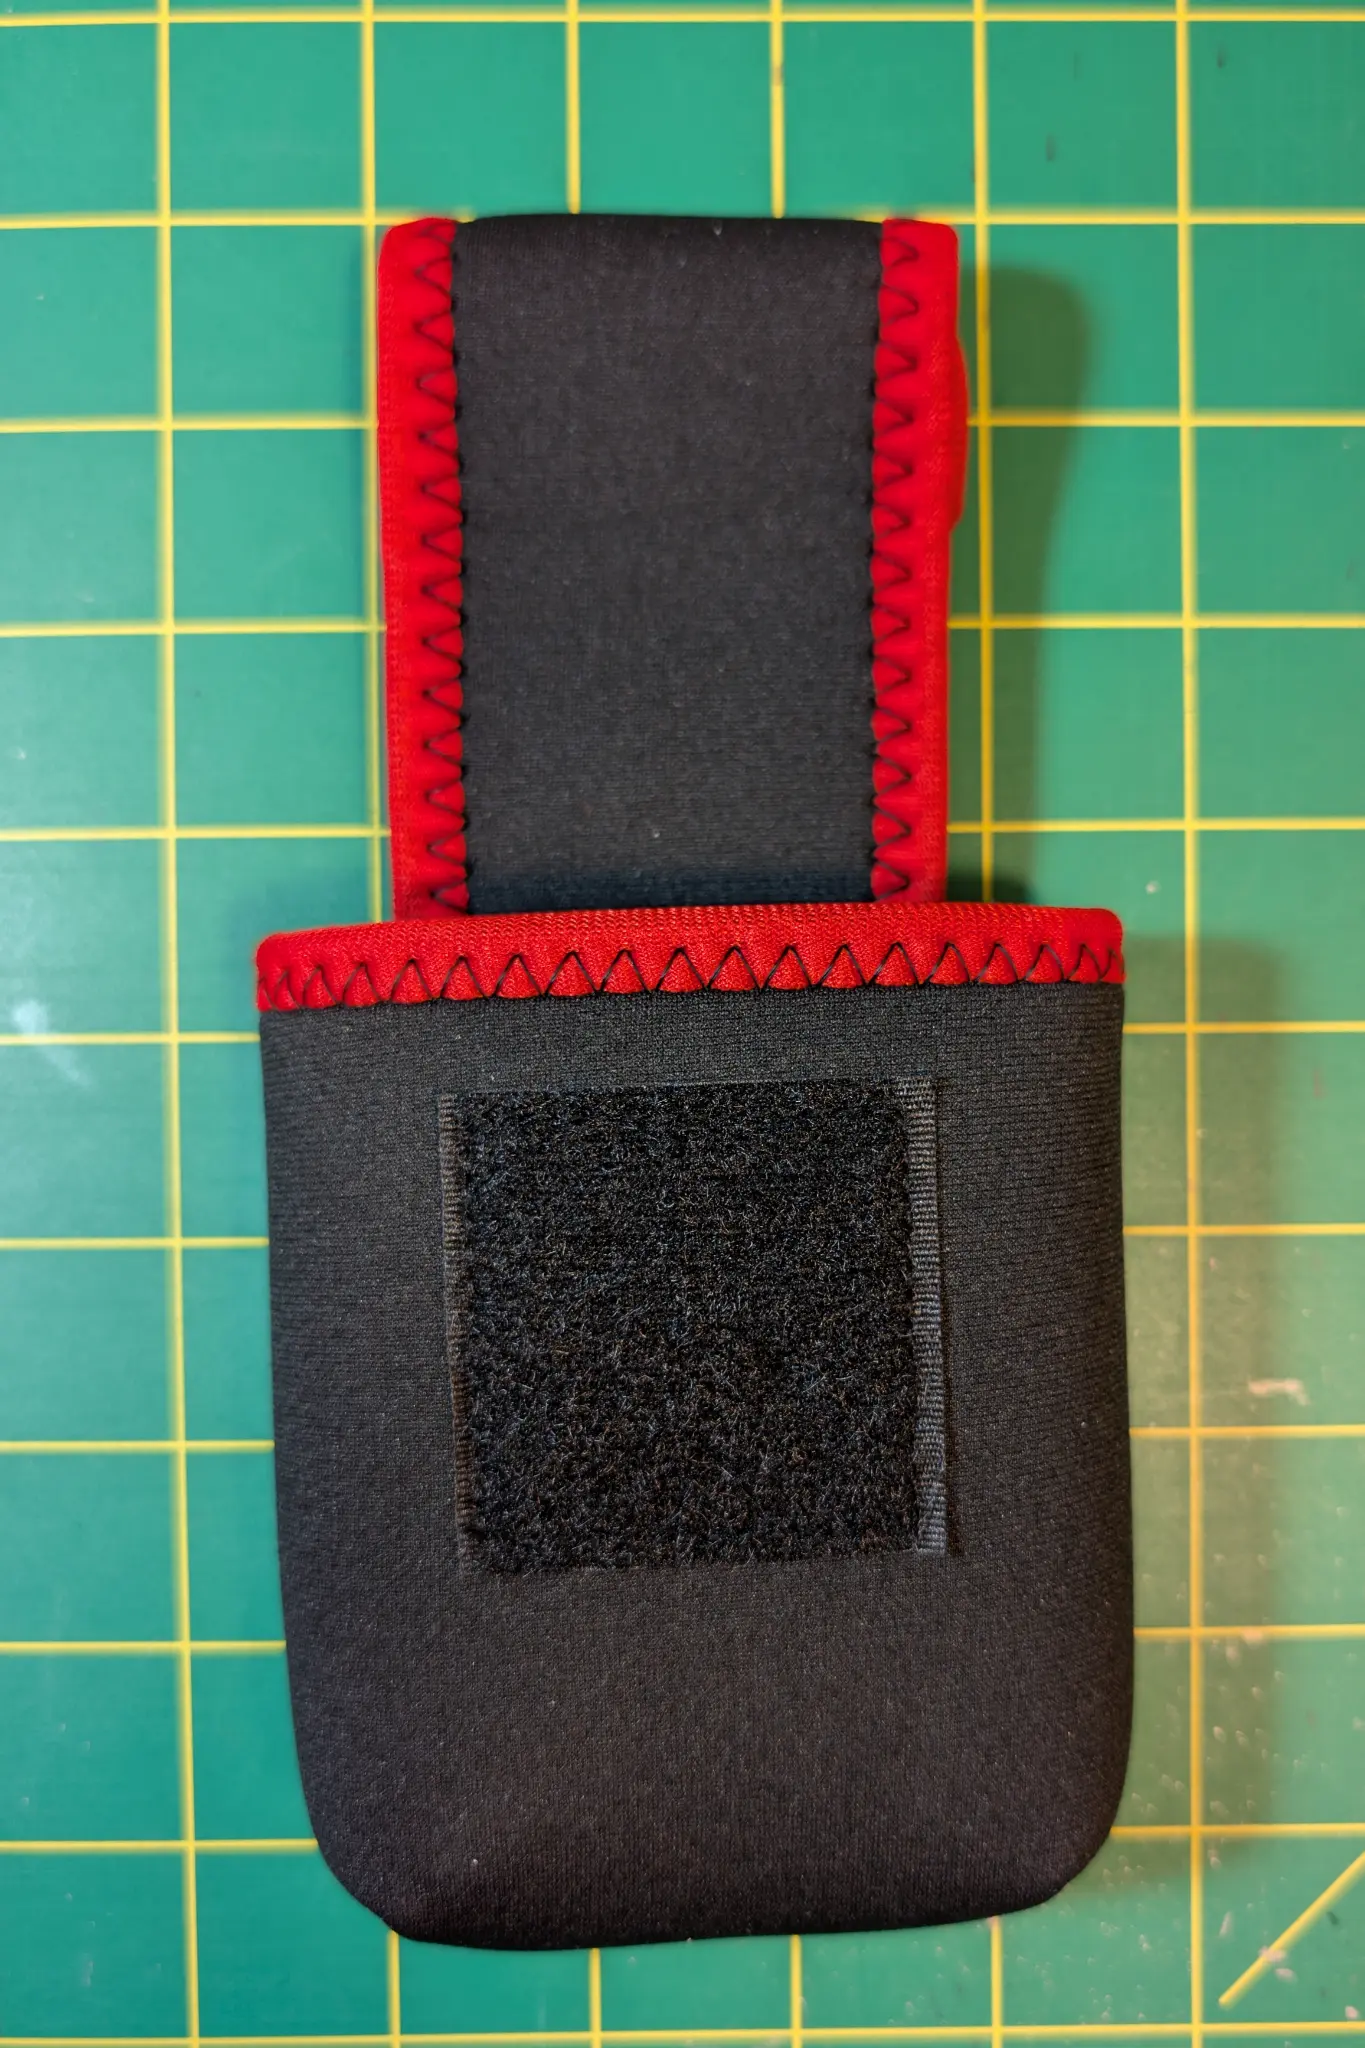
Suitable for larger glove compartments. Offers maximum storage capacity for multiple pairs of sunglasses or larger frames.
For oversized glove compartments or when maximum storage depth is needed. Perfect for storing multiple accessories safely.
ShadeShark's portable design makes it perfect for rental cars and travel. No permanent installation required!
When ready to use, simply open the flap for instant access to your sunglasses. The folded configuration maintains security without permanent installation.
Fold the top hook and loop section back on itself to create a secure stop mechanism that works without permanent attachment.
Complete the folding process by folding the flap back one more time so the hook fastener secures to the back of the flap.
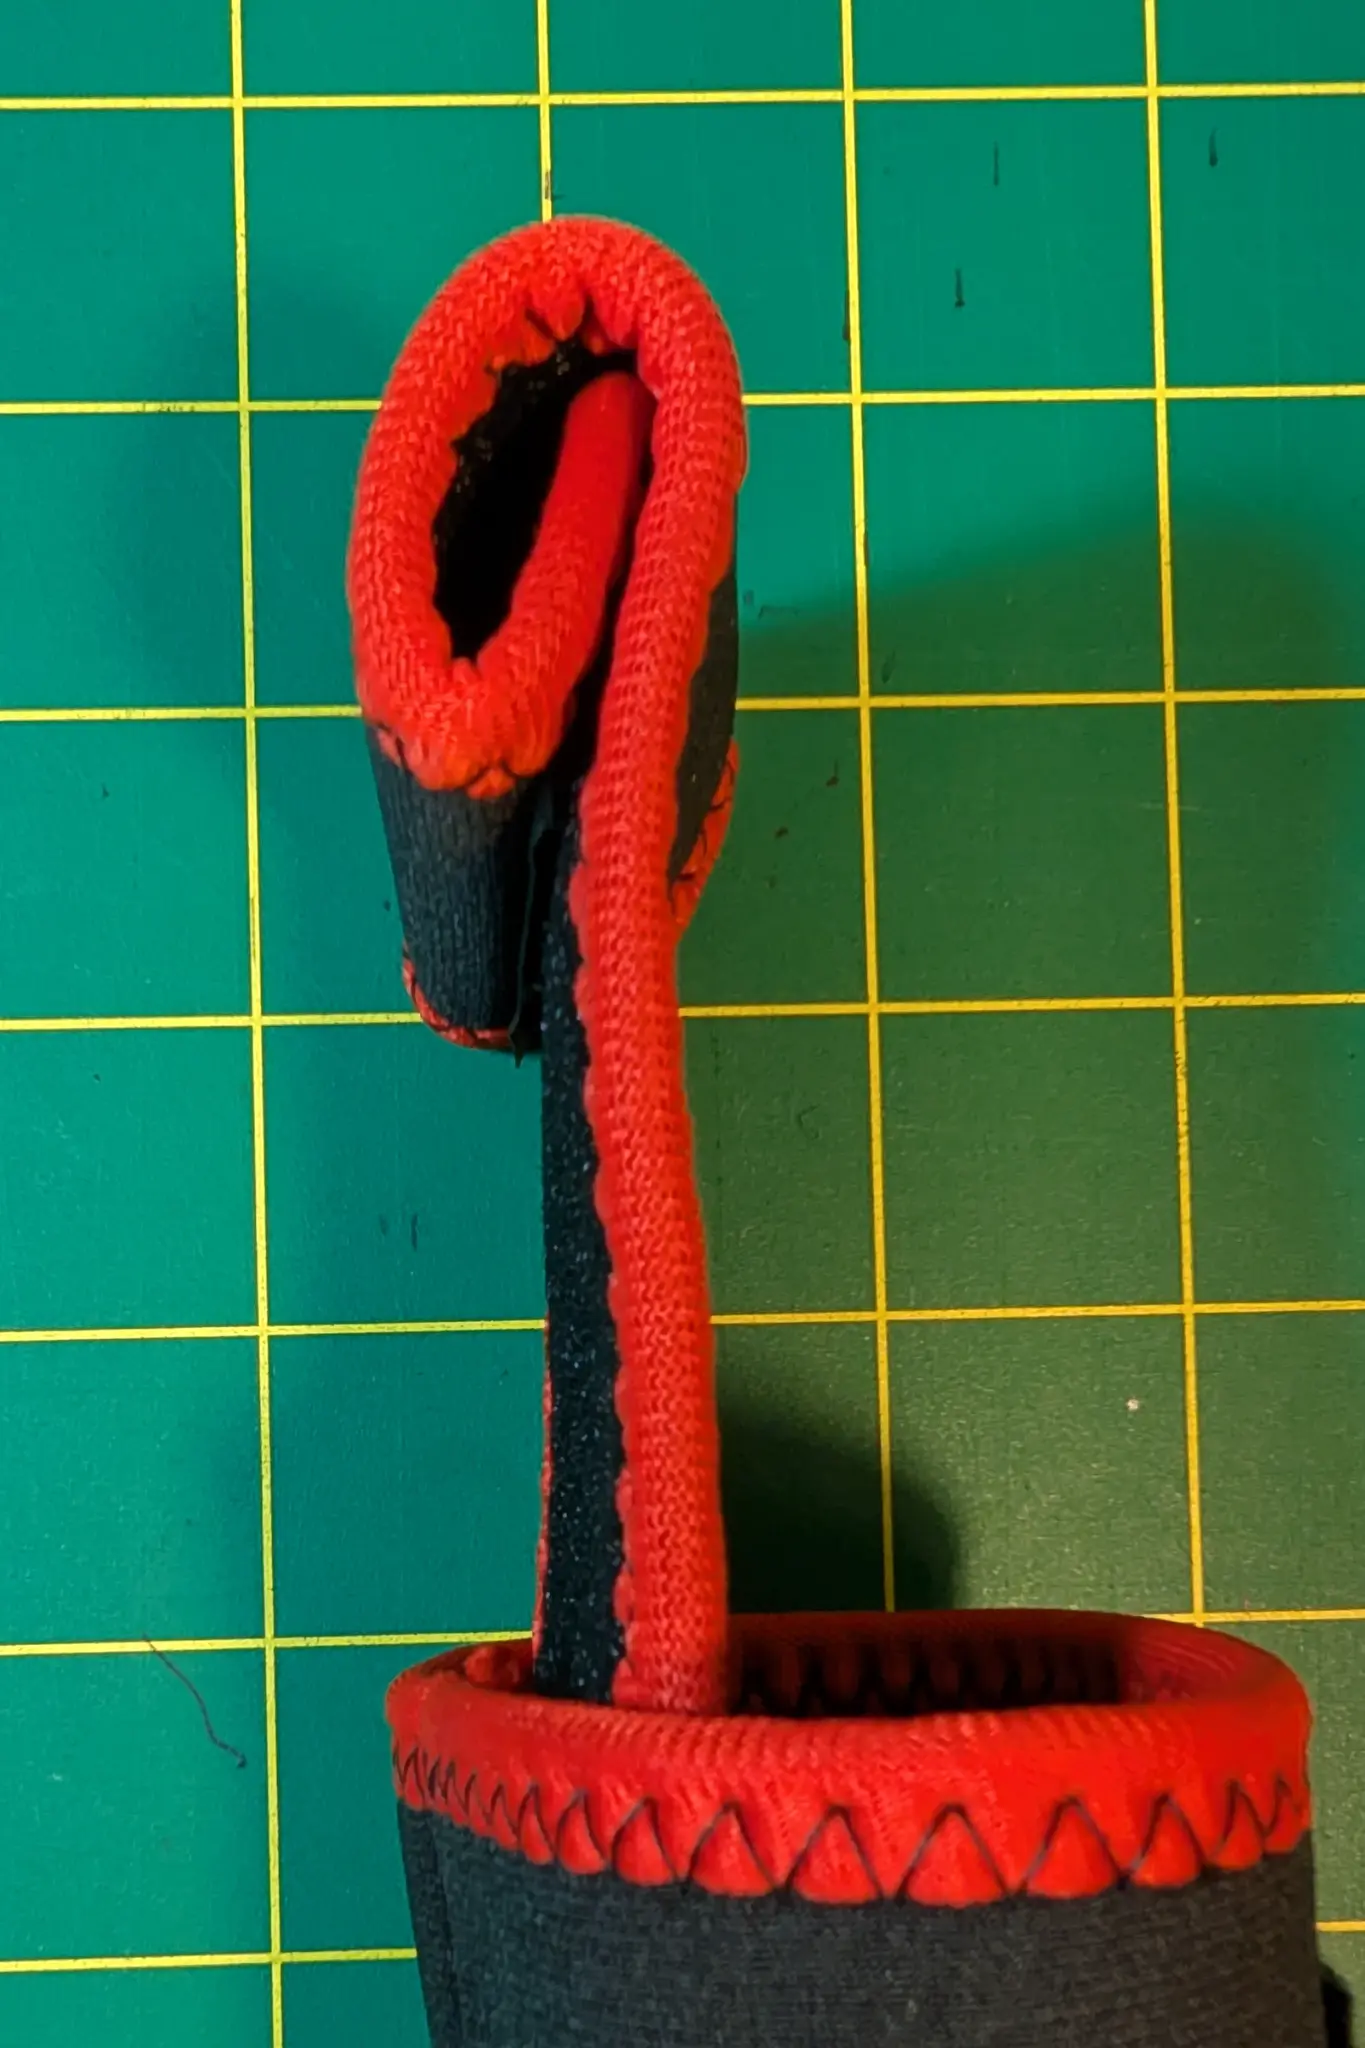
The side view shows how compact the ShadeShark becomes when folded, making it perfect for business travel and vacation trips.
Install at room temperature for best adhesive performance. Avoid installation in extreme heat or cold for optimal hook and loop fastener bonding.
Clean installation surface with alcohol wipe and allow to dry completely. Remove any dust, oils, or residue for maximum adhesion.
Allow 24 hours for full adhesive cure before heavy use. Initial bond forms immediately, but full strength develops over time.
ShadeShark installs completely tool-free. Simply clean, peel, stick, and adjust. Perfect for any skill level or situation.
Ensure the surface is completely clean and dry. Some textured surfaces may require light sanding for better adhesion. Contact customer support for surface-specific advice.
Use the two-part design to adjust length. Attach the hook fastener at different positions on the loop surface to achieve the perfect fit for your specific vehicle.
Gently warm the hook and loop fastener with a hair dryer to soften the adhesive, then slowly peel away. Any residue can be removed with adhesive remover or alcohol.
The hook and loop fastener is designed for permanent installation. For multiple vehicles, consider purchasing additional ShadeShark units or use the rental car folding method.
Follow these instructions for perfect installation, or contact our customer support team for personalized assistance.